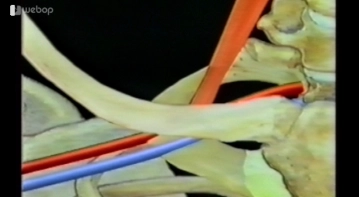
Demonstration of the anatomical position of the scalene muscle, subclavian/brachial artery and vein, and the position of the clavicle in relation to the artery and vein.
-
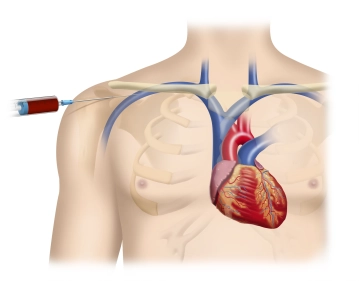
Topography of the Subclavian Vein
![Topography of the Subclavian Vein]()
Soundsettings -
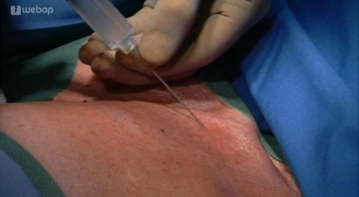
Infiltration of the Surgical Area with Local Anesthetic
![Infiltration of the Surgical Area with Local Anesthetic]()
Soundsettings Puncture approximately one fingerbreadth below the clavicle, about in the middle of the clavicle, for the application of a total of 10 ml of local anesthetic as a wheal and subclavicularly.
-
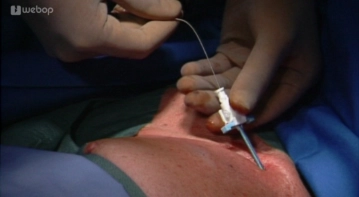
Puncture of the Subclavian Vein
![Puncture of the Subclavian Vein]()
Soundsettings Puncture with the needle initially directed at 70-90° towards the clavicle, then change the direction of the puncture after loss of resistance and secure subclavian position towards the jugulum (marked). Aspiration of venous blood.
-
Seldinger Technique
![Seldinger Technique]()
Soundsettings With confirmed intravenous position, insert the Seldinger wire through the cannula. Make an incision with the #11 scalpel and then introduce the dilator with the introducer set. Remove the wire and cover the introducer set with a finger to prevent air embolism (not always adequately shown here). Remove the dilator while the introducer set remains in place.
-
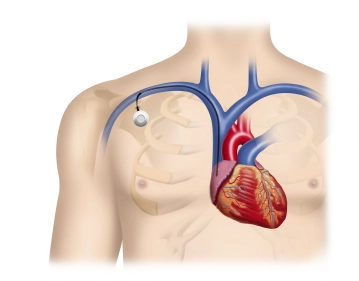
Insertion of the Port Catheter
![Insertion of the Port Catheter]()
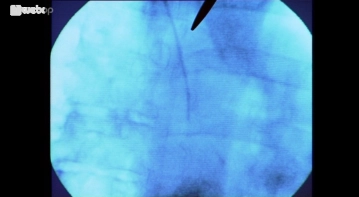
Soundsettings Gradual insertion of the port catheter and consecutive withdrawal of the introducer set with appropriate tilting of the introducer sheath.
Optional: Fluoroscopy + contrast agent administration to ensure the position of the port catheter in the superior vena cava.
-
Preparation of the Port Pocket
![Preparation of the Port Pocket]()
Soundsettings Skin incision along the skin tension lines approximately 4 cm distal to the puncture path and creation of a subcutaneous pocket that fits approximately two transverse fingers.
-
Subcutaneous Tunneling
![Subcutaneous Tunneling]()
Soundsettings Then subcutaneous tunneling using corresponding Kocher forceps, pulling through the tube. Then radiological position control, determination of the definitive tube length, and corresponding shortening of the port tube. Attachment of the tube to the port opening using a clamped shoe. The tube must be completely pushed onto the nipple and securely fixed by correctly snapping the sleeve into place.
-
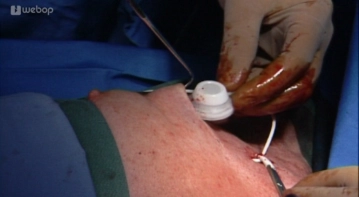
Final Functional Check
![Final Functional Check]()
Soundsettings Before skin closure, perform a transcutaneous test puncture of the port reservoir and, if necessary, re-visualize the catheter system with contrast medium under fluoroscopy.
Postoperatively, along with the exclusion of a puncture pneumothorax, the radiological verification of the correct position of the port system is performed on a chest overview image.