
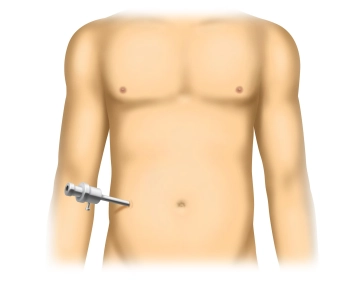
After sterile washing and draping of the entire abdomen from the costal margin to the symphysis, an open entry into the abdomen is made through a small incision placed contralateral to the hernia. Blunt insertion of a 10 mm trocar, establishment of pneumoperitoneum, the intra-abdominal pressure should be approximately 12-15 mmHg.
-
Positioning, skin incision, pneumoperitoneum
![Positioning, skin incision, pneumoperitoneum]()
Soundsettings -
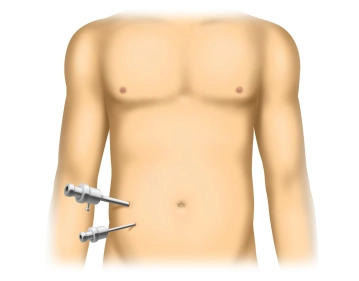
Insertion of the optic and working trocars
![Insertion of the optic and working trocars]()
Soundsettings Introduce the camera optics and inspect for possible injuries or bleeding: Particular attention should be paid to adhesions in the immediate vicinity of the first trocar. After an orienting laparoscopy, introduce a 5mm working trocar. This is always done under vision and is therefore relatively safe. The exact location must be determined by the surgeon based on their preferences and experience. A second working trocar will be positioned later.
-
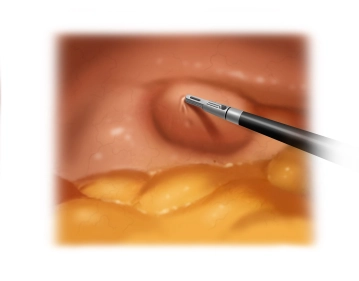
Inspection of the hernia orifice
![Inspection of the hernia orifice]()
Soundsettings Inspection of the hernia orifice. This typically penetrates the fascia of the transversus abdominis muscle and the internal oblique muscle in the area of the linea semilunaris (curved line marking the transition of the rectus abdominis muscle into the adjacent tendon plate), while the superficially located fascia of the external oblique muscle usually remains intact. The predilection site of the spigelian hernia is the intersection between the linea semilunaris and the linea arcuata.
Determine the size and location of the hernia defect
Marking the center of the hernia gap and determining the hernia margins with a percutaneously inser
Marking the center of the hernia gap and determining the hernia margins with a percutaneously inser
Activate now and continue learning straight away.
Single Access
Activation of this course for 3 days.
US$9.30
inclusive VAT
Most popular offer
webop - Savings Flex
Combine our learning modules flexibly and save up to 50%.
from US$7.23 / module
US$86.85/ yearly payment
general and visceral surgery
Unlock all courses in this module.
US$14.47
/ month
US$173.70 / yearly payment
Webop is committed to education. That's why we offer all our content at a fair student rate.