Ideally, the marking and subsequent instruction for stoma care should be performed by specially trained stoma therapists or an experienced surgeon.
Tips:
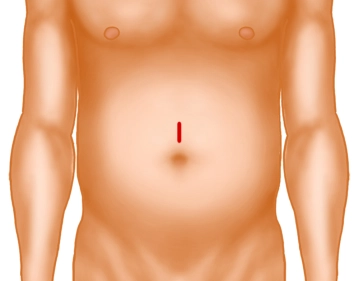
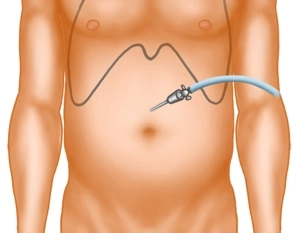
Trial marking on the lying or already seated patient in the area of the left rectus abdominis muscle (navel height) in a 10 × 10cm skin area, preferably without folds, scars, or bony prominences.
Verification of the intended position in motion (standing, bending).
The chosen site should be easily visible and accessible to the patient and should be compatible with the position of the pants or belt.
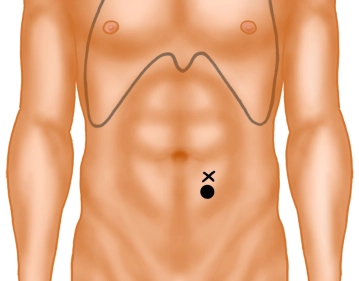
Determining an alternative marking is recommended in case of intraoperative complications.
Covering the marking with a skin-friendly adhesive tape.
The position of the stoma significantly influences handling and care, and thus the patient's quality of life!